

Start to Finish example is below - where you show how you made a project from start to finish so to speak. For many of us it's interesting to see a few fabric scraps turn into something wonderful! All of these articles will be labeled "Start to Finish"
In the Studio series will be a one-on-one interview with you and photos of your studio. Many of us just love to see in what type work area you thrive! All of these articles will be labeled "In the Studio"
So , here's an example.
Start to Finish: The Making of Mr. Bojangles (Assemblage From Trash)
When making assemblages I do put a great degree of finding the right items go into it. It's funny how many people think I just slop the items together, when in actuality, many items have sat on my desk half completed waiting for that special part. A curbside find of old oak table legs gave hubby something to do. He cut the top parts off for me to use in my assemblage, and put the bottoms on Etsy for someone else to create with.

The bottoms of the legs were listed in my Etsy shop, because I hated to discard them.
The tops would be future assemblages. I had to then try to coat and shabby up the oak wood (such a shame, I know, to cover the old wood). In this case, many layers of white, pink, blue, and gloss to get the desired shabby finish on the post would take me two days of spraying and drying. Oddly the original oak gave me some issues because it must have been coated with an oil such as tung oil or something, which I should have caught but it had soaked in so much I hadn't even noticed. Instead, this only added to the shabby-ness and tended to bubble up the paint in just the right areas. This can however cause you a great deal of problems if you are gluing things to the surface, because the paint will then just "slide off" if not properly coated or attached. In this case a few end coats of gloss lacquer did just the trick!

Pinked to perfection: The future body of Mr. Bojangles.
On another excursion, I happened across an old chest of drawers on the curb set out for trash, which had two "nautical" knobs left. I nabbed them right up and would shabby this one up for Mr. Bojangles's hat. It's amazing how much great hardware you can nab off the side of the road. Hinges, handles, you name it, always drive slow and carry a screwdriver on trash night!


Before, and after painting the old nautical knob for Mr. Bojangles' hat.
I found some old aluminum "Hokey Pokey" butt-out cigarette holders from the 60s in a thrift shop, and just knew they would fit into the sculpture.

Funky little things I've been holding out for just the right project!

I was saving these old fabric pieces from a pair of discarded shorts.
They worked out just perfect for arms.
Add some buttons, extra string and a few more coats of gloss spray, and now Mr. Bojangles is ready to sell, 50% of the profits going to my favorite charity!

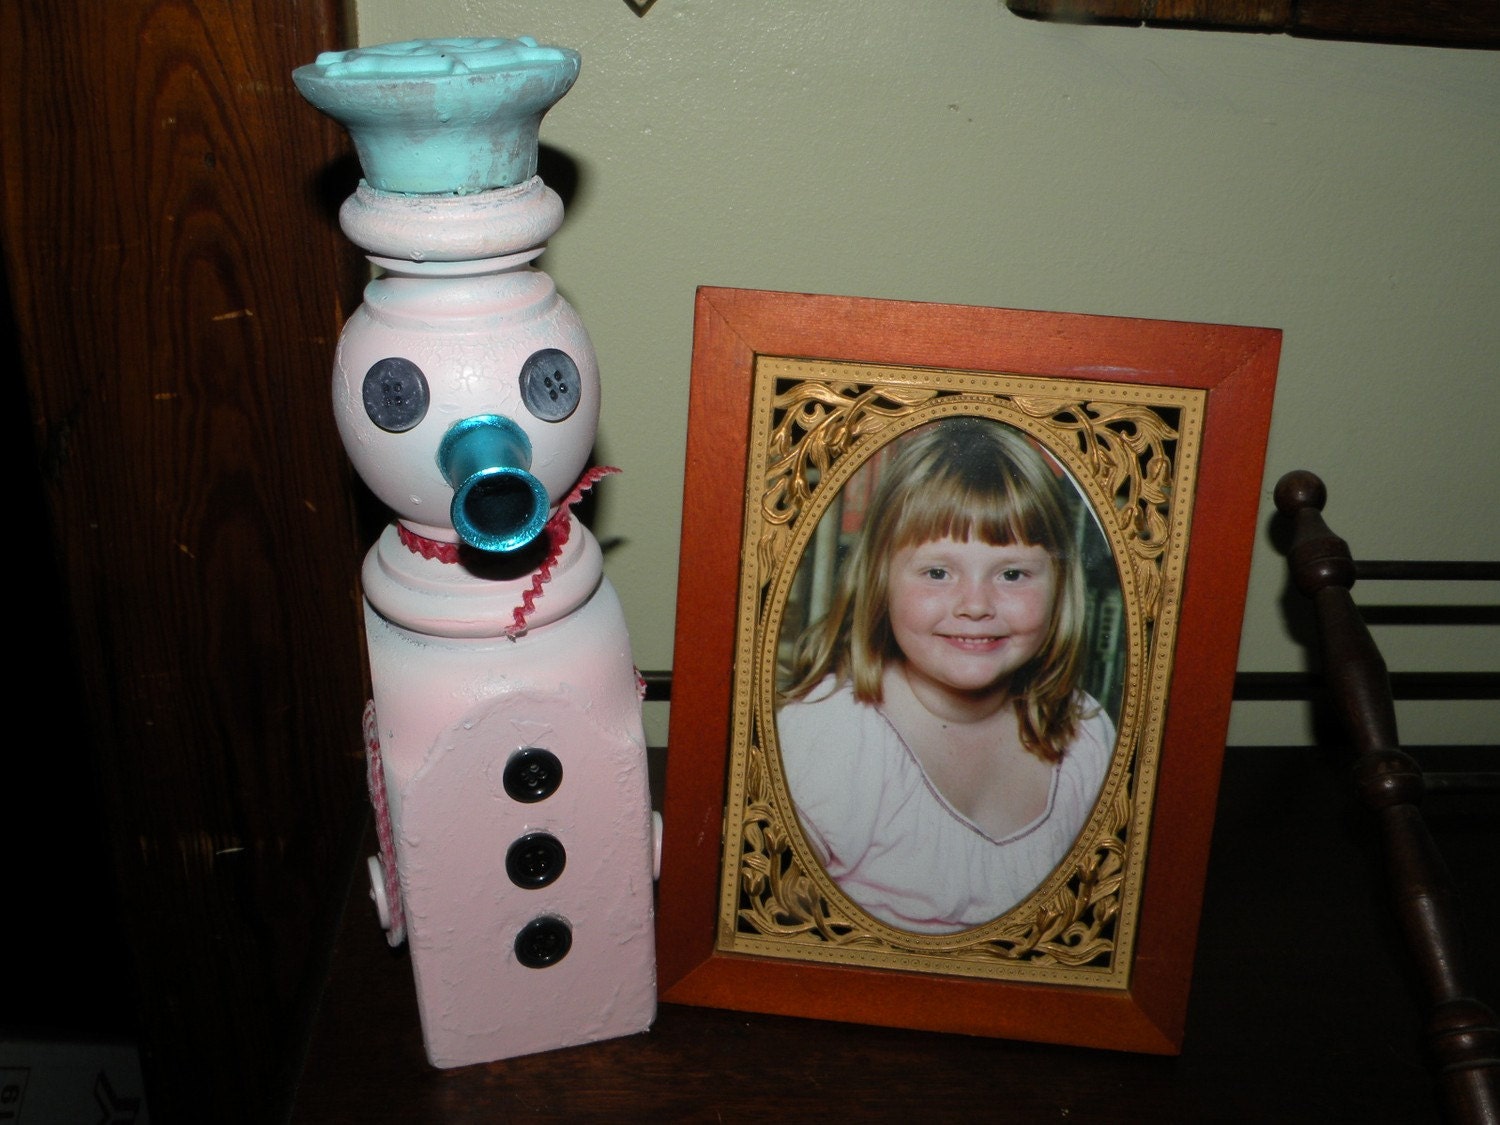
The finished product, Mr. Bojangles, is ready to be sold, 50% profits going to charity!
No comments:
Post a Comment